
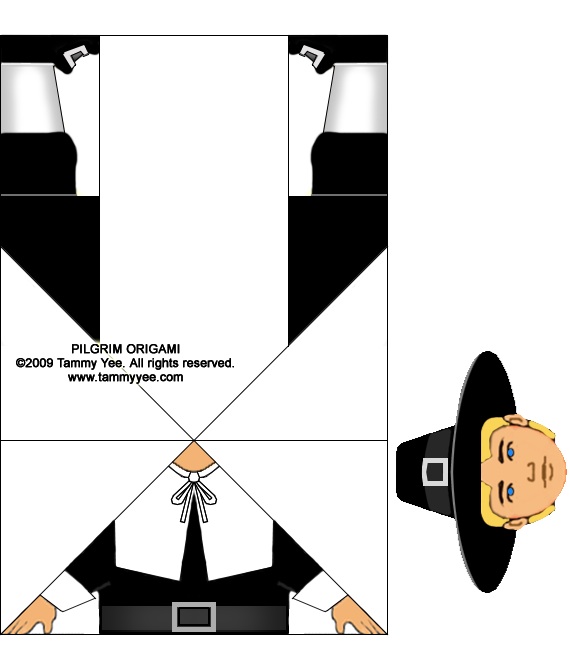
Thanksgiving Pilgrim Origami.
Download free print-and-fold pattern at http://origami-n-stuff4kids.blogspot.com/2009/11/thanksgiving-pilgrim-boy-and-girl.html
#thanksgiving #origami #pilgrim #diy #crafts

Easy Butterfly OrigamiMy new book, Easy Butterfly Origami features 30 bold full-color patterns designed to accurately portray the dorsal and ventral sides of some of the most beautiful butterflies from around the world!
|


 |  |


 |  |

 |  |

 |  |


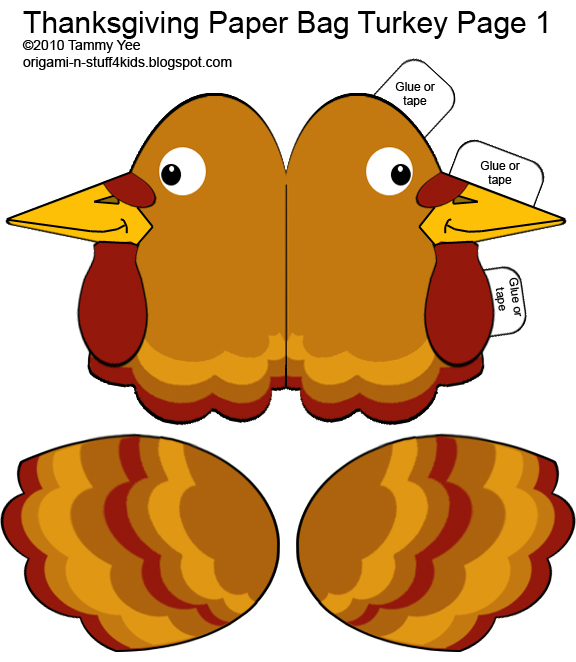
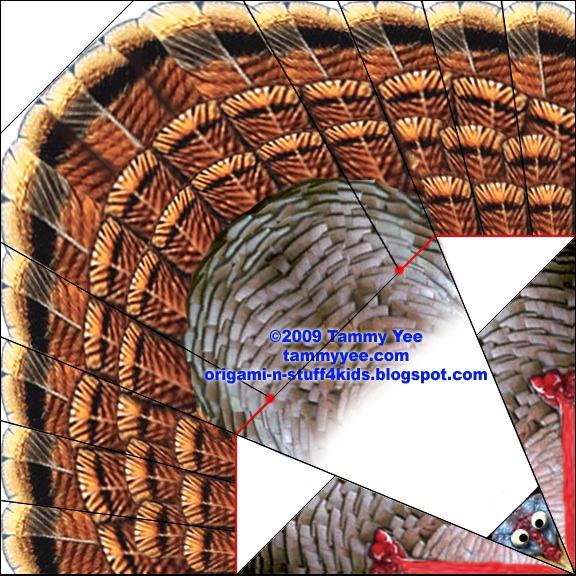
1 small paper bag
scissors
glue or tape
marker
printed turkey template


Chinese Zodiac | |
 | |
|
Enter your birth year for your Chinese Zodiac Sign:
Now learn about your Chinese Horoscope HERE |


